
5 Things I’ve Learned About Kubernetes Clusters Since Passing the CKA
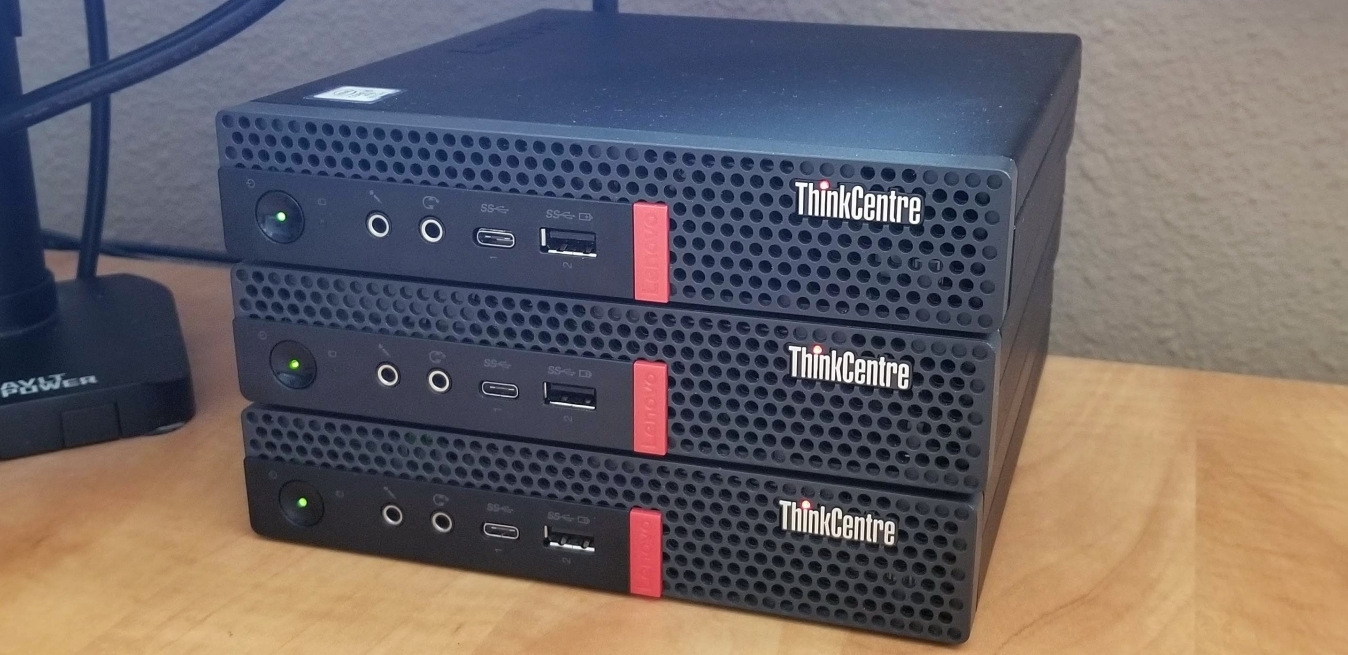
While I was studying for the exam I began to setup my own bare metal Kubernetes cluster home lab. I continue to iterate and improve the setup and to test it by deploying different workloads into it.
In that process of setup and refinement I learned a number of things that were not covered in the CKA. This post contains the top 5 topics where I’ve spent additional time learning in order to build a complete bare metal Kubernetes cluster.
Monitoring
Monitoring is given a very light treatment on the CKA. It is focused on metrics-server which is useful but limited for diagnostic purposes, and monitoring is so important to long term maintenance and support of any system.
I did an initial setup of Prometheus and Grafana to monitor the cluster itself and to set the stage for future application monitoring. Prometheus deploys nicely on Kubernetes and can easily be configured to monitor the cluster and it’s resource utilization over time. If you use kubectl port-forward you don’t even have to expose any ports to access Grafana and you can use Kubernetes RBAC to control access to the monitoring namespace and it’s resources.
Storage
Setting up a storage solution is outside the scope of the CKA which makes sense as there are many options and cloud service providers have their own solutions that they want you to use. One of the more popular solutions for a bare metal Kubernetes cluster seems to be using Rook with Ceph. Rook manages and provisions the storage in Kubernetes and Ceph is a scalable storage solution designed with commodity hardware in mind so it will tolerate hard drive failures.
Installing Rook/Ceph using several Kubernetes yaml manifests makes the process mostly straightforward. The hardest part of setting up Ceph is that it is very particular about the format of the hard drives that it uses for its OSDs (Object Storage Daemons). If the hard drives are not correctly formatted and the device filter is not set correctly Ceph will not initialize the drive. This is a good thing as Rook/Ceph will automatically format and setup any new drives on the node that match the device filter and are not already formatted.
Services with Privileged Ports
Coming from running Docker containers stand-alone Kubernetes made me truly appreciate that the containers themselves should never need to use privileged ports (ports below 1024) and rarely should they need to run as root. MetalLB makes that a reality for applications that do not or cannot use http (80) or https (443) ports and are not running on one of the big cloud providers.
In Kubernetes if you are serving content via http/https you can use an Ingress controller. If the application is only going to be available inside the cluster you can use NodePorts, and if you are running your application in a cloud environment like Amazon EKS, Google Kubernetes Engine (GKE), or Microsoft AKS the default Kubernetes LoadBalancer Service will assign a real physical load balancer, provision a public IP address, and act as the internet facing gateway. They also allow you to specify which ports (privileged/unprivileged) need to be forwarded to your application.
However if you’re doing a bare metal deployment of Kubernetes and your application needs to use a privileged port you can use MetalLB or PureLB to act as a software load balancer and provide the needed logic to provision IP addresses and allow traffic on privileged ports.
I initially started with PureLB because it works with the Linux networking stack to assign IP addresses but it’s really more of a fail over then a load balancer and ultimately I went with MetalLB which optionally uses BGP.
IPv6 Support
I have setup and use IPv6 addressing on my network so I wanted my cluster to use IPv6 addressing as well. When I first started testing IPv6 support in Kubernetes v1.19 the IPv6DualStack feature gate was still set to false because it was in alpha. I have upgrade since then and am now using v1.21 and support is on by default and in beta. I chose to use Callico for the CNI because, among other things, it supports IPv6 out of the box.
The one area that has been a little disappointing has been using a dual stack setup with the LoadBalancer. I’ve had to create two LoadBalancer Services to assign the specific public facing IP and IPv6 addresses to the service separately. It’s not a big deal, but it’s not as elegant as I’d like, and could lead to discrepancies in the configuration that could be harder to track down because of subtle differences.
Troubleshooting
Setting up and tearing down simple deployment in Kubernetes is easy. Bigger applications usually have Custom Resource Definitions and those CRDs can make it difficult to remove the application cleanly. If the software you’re trying to run provides a yaml manifest you will usually run something like kubectl delete -f myappliation.yaml to remove the installed application. However if the resources in the manifest are not ordered well, or if there are multiple manifests you may end up with a command that hangs instead of exiting cleaning.
If there is no yaml manifest, then you may be required to delete all of the resources one at a time, trying to figure out which resource types were used in this specific namespace. The fact that there are no built in commands that show you all resources that are running in a given namespace is a bug as far as I’m concerned.
If you try to delete the namespace and there are still active objects in it then the command will not return even if you specify the --force flag.
In order to work around this several people have written scripts. superbrothers has written a kubectl script that you can put in your path and run using the following syntax: kubectl delete-all -n mynamespace and it will cycle through all resource types including CRDs and delete all objects of every type in the namespace. It’s a blunt instrument but it works when you don’t know what resources are in a namespace.
Final Thoughts
There are a few things that could be cleaned up in Kubernetes, like the lack of a single command to easily see all of the deployed resources in a namespace, or the need for multiple services for DualStack setups, but overall Kubernetes has been a joy to work with. I’ve also noticed that all of the projects I’ve been working with have developed at a rapid pace, even in the short time I’ve been using them.

Leave a Comment